St Andrews Beach

Hole-by-hole Gunnamatta Course Guide

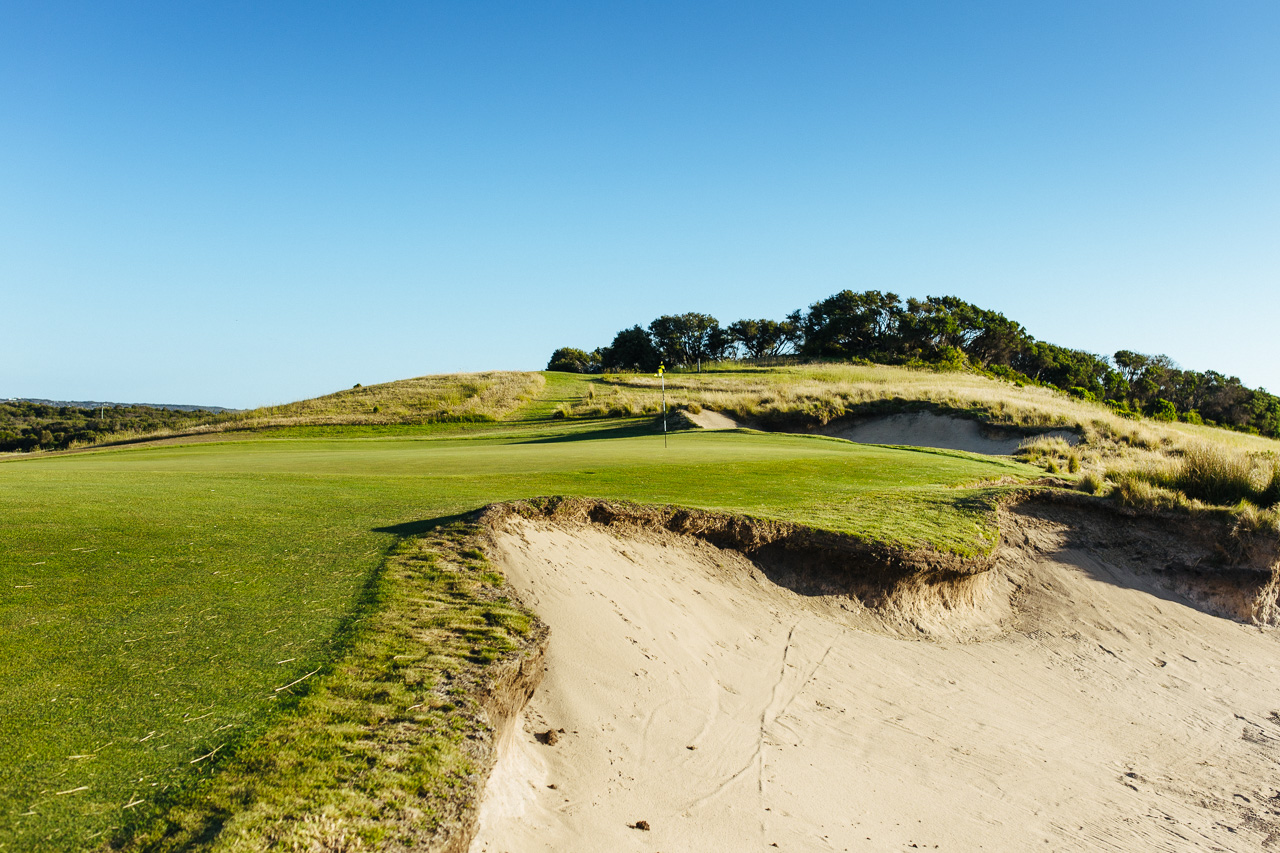
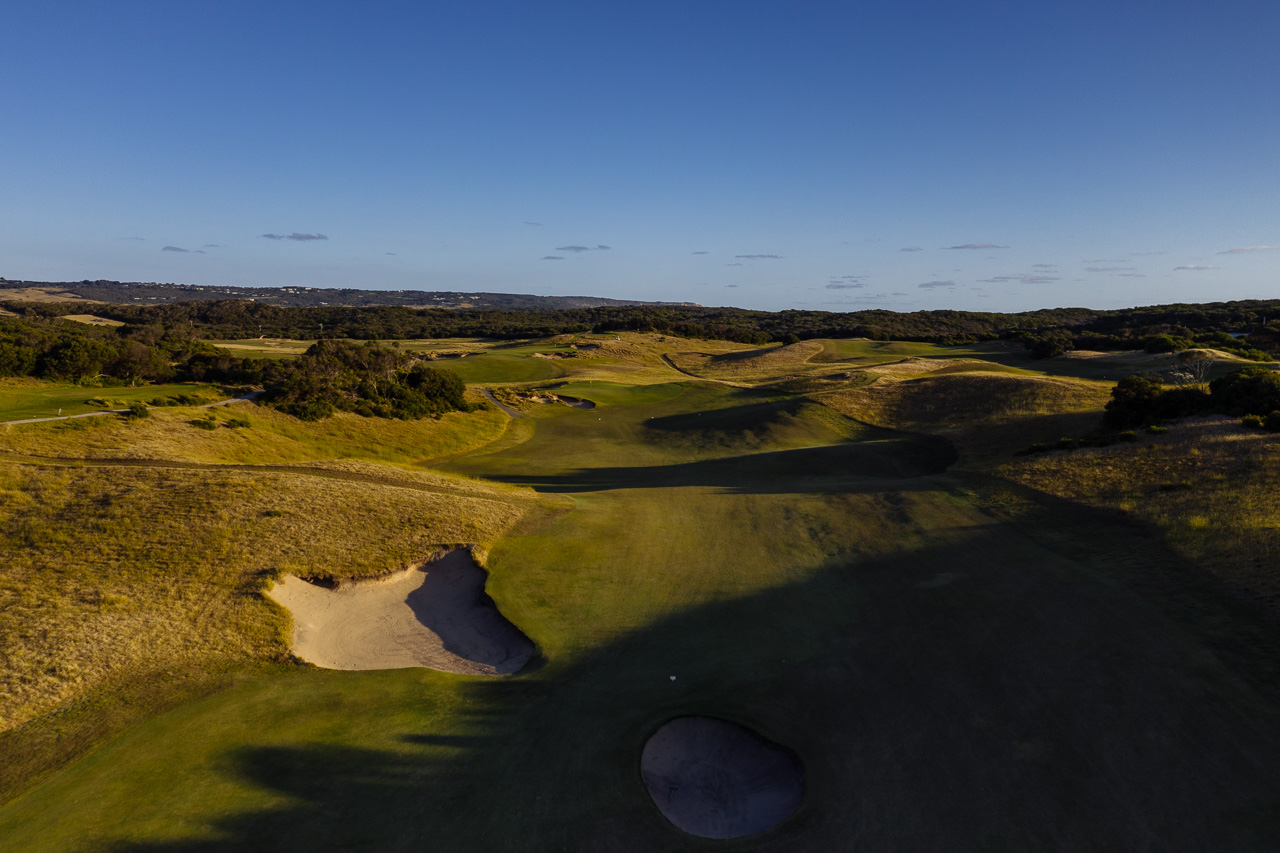
St Andrews Beach is nestled along the south-western coast of Melbourne’s Mornington Peninsula, near the thundering surf of Gunnamatta Beach and Bass Strait. Designed by world-renowned course architect, Tom Doak (Barnbougle Dunes, Cape Kidnappers, Tara Iti, et al.), the St Andrews Beach Gunnamatta Course weaves across a spectacular stretch of land evoking the famous links courses of the UK and Ireland, with a quality on par with the courses of the nearby Melbourne Sandbelt.

This classic 18-hole links-style members’ course debuted as the 9th best nationwide in 2006. Since opening for public access play in 2009, we’ve maintained our position as the number one public access course on the Australian mainland.

Flyovers and strategy notes on all 18 holes below
1
497m, Par 5
2
279m, Par 4
3
405m, Par 4
4
197m, Par 3
5
387m, Par 4
6
169m, Par 3
7
377m, Par 4
8
322m, Par 4
9
339m, Par 4
10
384m, Par 4
11
147m, Par 3
12
389m, Par 4
13
452m, Par 4
14
276m, Par 4
15
361m, Par 4
16
197m, Par 3
17
468m, Par 5
18
404m, Par 4

Par-5  16
497m 480m 465m

A spectacular start to your round of golf. From the elevated tee, observe the flag position over the green-side bunkers (this information is worth noting for longer hitters, as the flag can’t be seen from the fairway if you go for the green in two). If playing for the green in three, place the second shot right of the bunkers short of the green. Being past the cavernous left side bunkers in two (or to right of them) is advisable to get off to a strong start.

1st Hole Flyover

Par-4  18
279m 262m 237m

Sometimes reachable in one if the wind is at your back, this short par-4 will tempt and tease your strategic thinking from the tee. A conservative tee shot, played left of the centre-line bunker, allows the golfer to fire up the length of the narrow green on the approach, albeit with a restricted view of putting surface. On the other hand, some will be tempted to attack the green along the right half of the fairway. From this side the approach requires tighter distance control, but does offer a better visual of the green and the bunkers lurking either side. This hole was one of the first designed by Tom Doak, who was drawn to this hole location by the giant blow-out sand dune that runs up the left-side of the approach.

2nd Hole Flyover

Par-4  2
405m 364m 337m

Shorter hitters should play left of centre from the tee to open up the view of the green here. Longer hitters can create an easier approach by biting off some of the dogleg to the right edge – pull off a good drive here and you’ll be rewarded with a better angle for the approach and a wedge in hand. Bite-off too much though and you may get caught in the dunes with little hope of recovery. Whatever line you take, the approach shot on the 3rd is one of the best on the property, with a narrow chute framed by native teatree and fescue grasses opening up to a semi-punchbowl green site with generous run-off areas. Anything slightly left of the green here will run down onto a large, undulating putting surface and is the best place to miss.  

3rd Hole Flyover

Par-3  6
197m 184m 133m

One of the most intimidating tee shots on the peninsula, and a hole that generally plays longer than its measure. Long and left is the best strategy for consistent pars – anything in this area presents a relatively straightforward up-and-down. Anywhere else and you’ll be battling for par (or worse).

4th Hole Flyover

Par-4  4
387m 358m 313m

The view from this tee will have you salivating and hungry to take it on. The target area and character of the downhill drive changes constantly with the wind. With huge expanses of bail-out space to the right, a long-iron in is not the worst result here with a relatively benign green complex. Any shots landing short of the green will release forward to the green and there are generous fringe areas for errant approaches. But even with all that knowledge, you’re still going to want to take on the two impressive, intimidating bunkers that protect the ideal line to the hole. Land a strong drive just over the left-side fairway bunker and you’ll be rewarded with the perfect angle in, wedge in hand. And a tee shot that you’ll be talking about afterwards (and thinking about for days to come).

5th Hole Flyover

Par-3  12
169m 125m 104m

Don’t look too hard at those nasty, gnarly bunkers, clawed into the landscape, and perfectly positioned for the short-right miss. Admire briefly, then try and forget about them. Just take an extra club, take-aim and fire to the brilliant concave green – a good hit will always be rewarded here and anything long should feed back down to putting surface. Take a little extra care reading your putt here too – the surrounding landscape tends to throw some golfers off their line.

6th Hole Flyover

Par-4  8
377m 349m 311m

After the seclusion and protection of the 6th, we now bust out onto the exposed, elevated 7th tee, with views back across to the 1st hole and a peek of what’s to come on the 8th. The joint fairway here presents a massive landing area of short grass, and multiple options of line for the longer hitter. The best angle of approach is generally from the left side, and a well struck drive will benefit from a speed slot that can add another 30 or 40 metres. A huge, two-tier green will tempt you throw it past the pin and roll-back down – but be cautious of this approach as the slope can sometimes hold the ball in a precarious location, making for a difficult two-putt.

7th Hole Flyover

Par-4  14
332m 332m 281m

In terms of accuracy, this one’s a little more testing from the tee – keeping a line tight to the left-side bunker is ideal as everything falls to the right. Distance control on the approach is paramount – an approach with height/spin will be the best percentage play. Long and left is probably your worst result – the run-of area can mean a miss of a few metres is exaggerated to 15 or 20.

8th Hole Flyover

Par-4  9
339m 327m 312m

Another gem in this stretch of four par-4’s. Thread the needle from the tee between the natural contours – the approach can be played cunningly using the slope beyond the green for rear pin positions. Another test of short iron control on the approach. Do not miss the green right, and beware of the run-off area to the left – it’s not an easy chip from down there.

9th Hole Flyover

Par-4  3
384m 366m 311m

From the tee it appears centre-right is the line, but to be placed centre-left from the tee makes a challenging approach somewhat easier. A high, soft-landing approach is rewarded consistently on a smaller green that is nothing short of a magnificent piece of work.

10th Hole Flyover

Par-3  15
147m 147m 136m

Again, a controlled ball flight is rewarded on this par 3 that calls for a soft landing shot. Add an extra club to your calculations – short or short left from either tee presents trouble, and it does play uphill into a prevailing breeze that can sometimes be hard to feel from the tee. Middle-of-the-green is always the best strategy here and a par a good result.

11th Hole Flyover

Par-4  7
389m 346m 298m

A sucker tee shot – don’t try and bite off too much or trouble awaits. Approach shots landing short will bounce hard right into trouble – best to fly the ball well onto the green (it’s deeper than it appears from the fairway).

12th Hole Flyover

Par-4  1
457m 426m 318m

A blind tee shot on the longest par-4 on the course, 13 is a hole that will have you wanting to take it on again and again. Look for the post corresponding to your tee box for the ideal line – aim either straight at it or just to the right side. Drive with maximum carry – if you get some luck with the huge undulations on this fairway, a big distance is in play. If the green can’t be reached in two, best play for a steady second, but don’t be afraid to fire a long-iron or even 3-wood in there – the punchbowl surrounds of this green complex will give a decent hit a chance of rolling on.

13th Hole Flyover

Par-4  13
276m 276m 205m

One of the most photographed holes on the course, the 14th offers a tantalising chance at going for the green if the on-shore ocean breeze is blowing. Otherwise, driver may not be the club, as the challenge here is keeping your ball out of the huge valley on the right side of the fairway. Keep it up the left side, and the approach is relatively simple – fall to the right and you will not even see the top of the flag stick.

14th Hole Flyover

Par-4  11
361m 328m 241m

The bunkerless 15th looks relatively benign, and plays that way if you hit your targets. Drives and approaches to the green will bounce once or twice to the right.

15th Hole Flyover

Par-3  9
197m 182m 133m

Anticipate your tee-shot feeding forward from the right side and kicking to the left if you elect to play for a running style shot. The shot can be longer than it looks as the first left side bunkers are set short of the green. The green will hold an elevated shot. Left is dead, or at best a very difficult up-and-down.

16th Hole Flyover

Par-5  17
477m 430m 381m

The start of the run home is another spectacular tee shot. An entertaining hole where your options constantly change depending on the wind and perhaps the state of your match. If there’s a rule here, it’s ‘don’t go left on the second shot’ as you’ll be blocked out from the tricky green complex. There is plenty of variety in pin positions that are all best handled from centre/ right if not attempting heroics with the second. The second rule here is ‘don’t go long and left’ on your approach – the run-off area here is deadly and brings big numbers into play.

17th Hole Flyover

Par-4  5
404m 373m 327m

With the wind generally at your back, the beautiful 18th encourages you to go for one-last heroic tee-shot. The right-side will offer more roll on the drive and put a wedge in hand, while the left side presents an approach that works best with the contours on the green. Avoid the bunker short-right of this green and you should be looking at a birdie putt. Tom Doak’s final green is nothing short of magnificent – a memorable finish en route to the 19th.

18th Hole Flyover